Keeping any travel or shopping to a minimum means no longer going to Color House to get film developed. I had previous experience developing b&w film at Gowanus Darkroom and I tried out the Cinestill Monobath in November. This week I tried Cinestill’s C-41 quart kit for color film development. I’d never done color on my own! In general, color is a whole other beast compared to b&w. When I took the 8-week dark room class a few years ago (my favorite class!) I even got to try a color enlarger but I never made a successful print. First of all, with color printing you can’t even use a safe light. Second, you have to choose the correct color filters…which is a true skill. Emulsive has a tutorial.
The thing to keep in mind with color development is your temperatures. Even with Cinestill’s kit, in order to do the development in less than 4 minutes you have to keep the chemicals at 102 degrees. I think I need to get a sous vide because the method I used, while successful, is tedious.
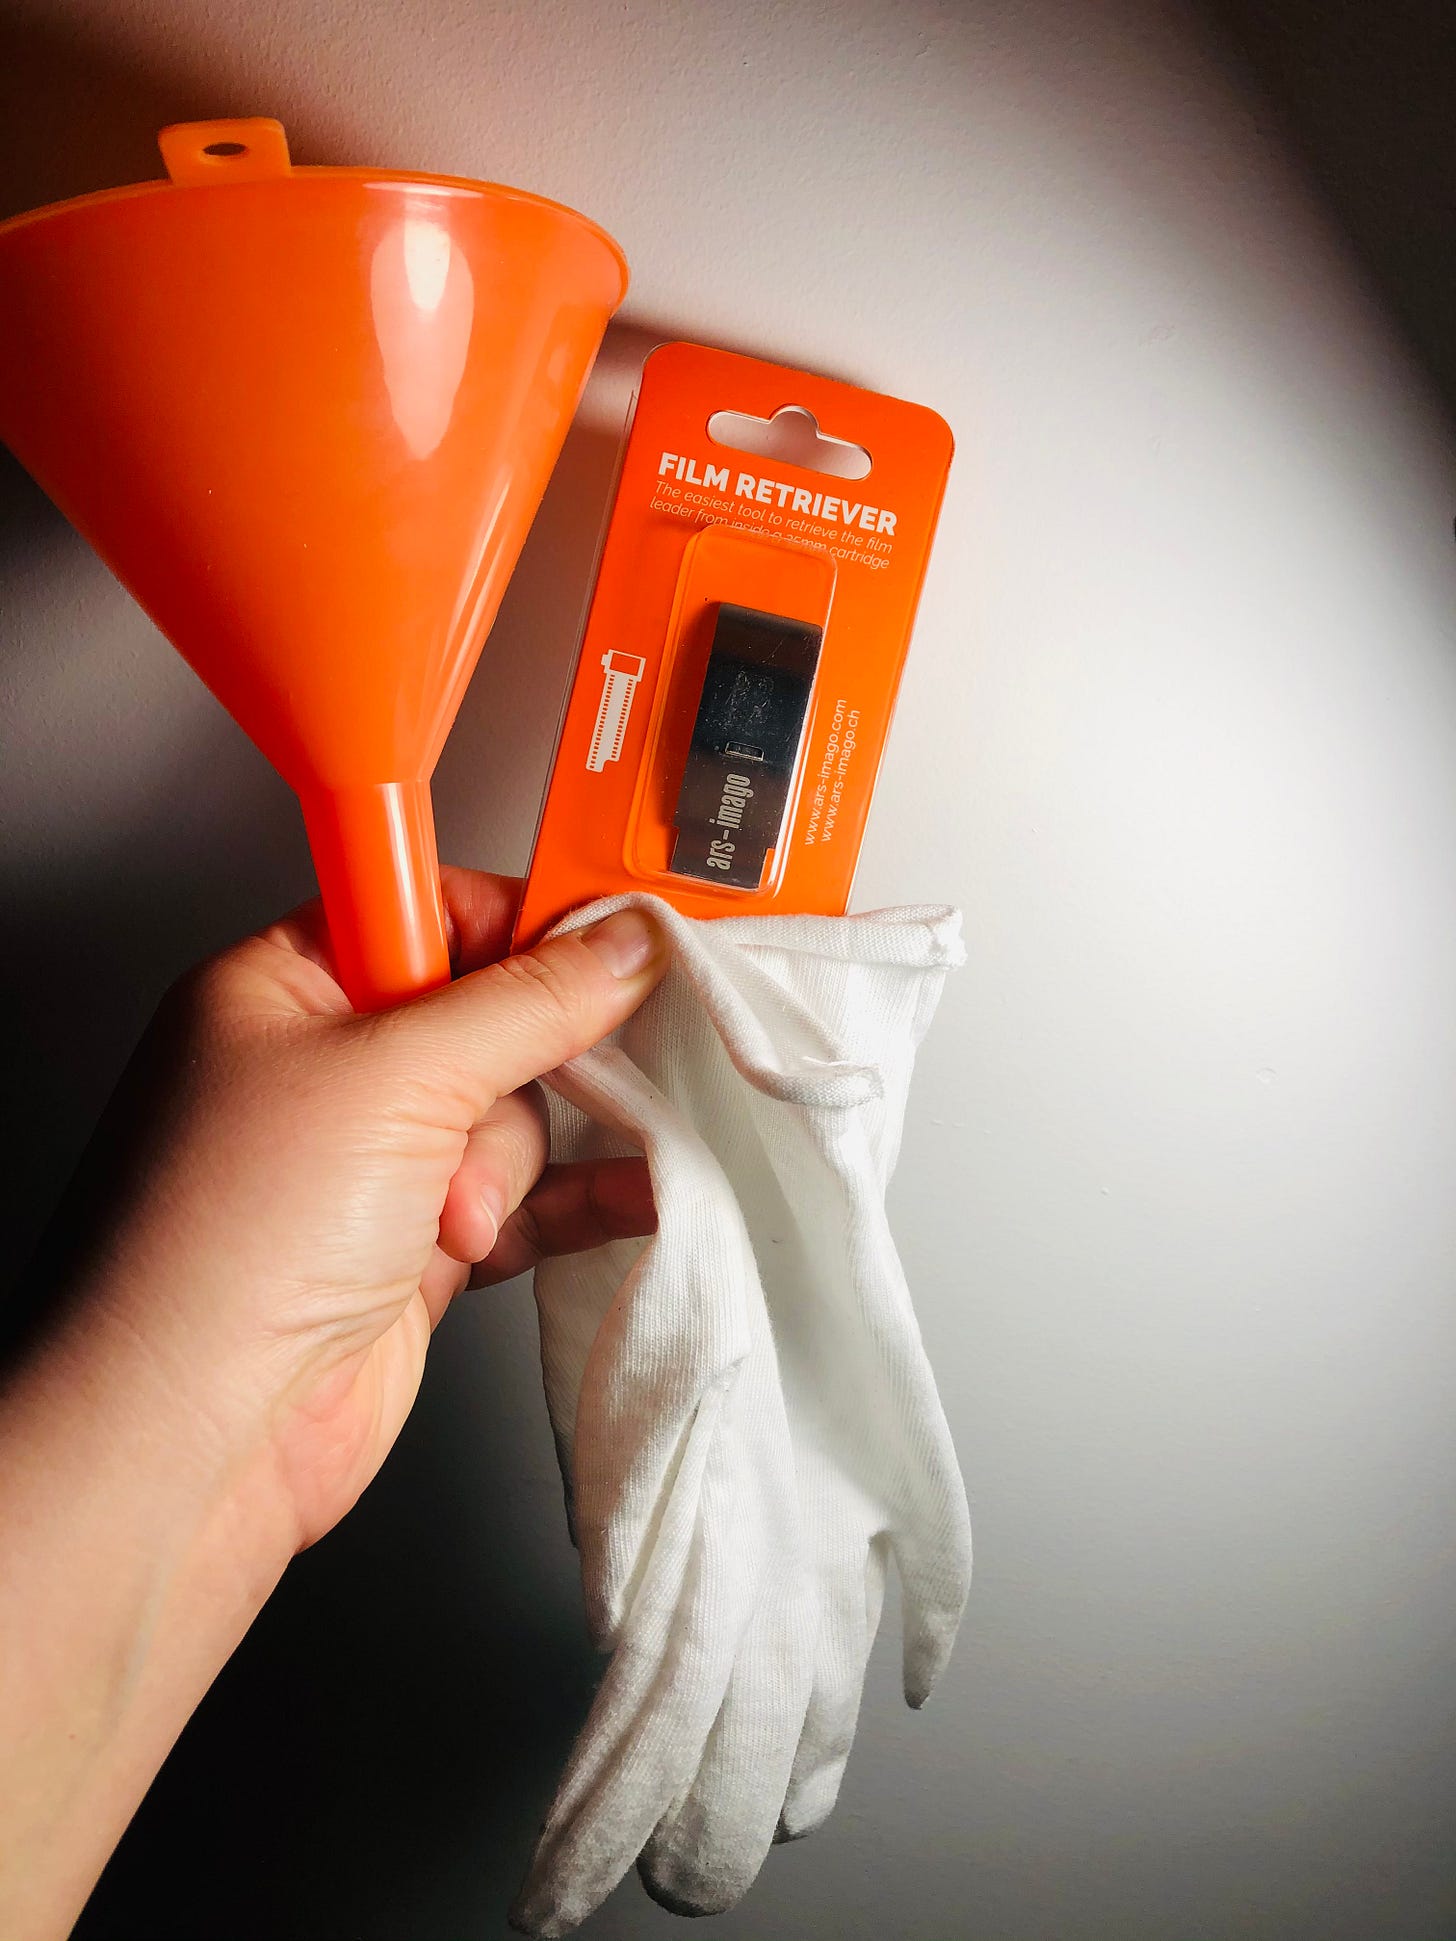
I’m glad I bought cheap funnels at the 99c store, and cheap cotton gloves for handling the film. And my can opener didn’t work on the film canister, so my film retriever came in handy.
One of my goals this year is to teach myself how to edit negatives and edit/retouch photographs, digital or otherwise. I try to get it right “in camera” but I’m a writer—we live by edits—why would I stop myself from making my photographs the best that they can be, whether they are analog or digital? I went on a little rant about this on instagram but my defensiveness is mostly my arguing with a past version of myself who scoffed at editing. But then I better understood what a photo lab does with your negatives and scans when they digitize them so yeah, editing is fine and probably necessary! When I made black and white prints in the dark room I dodged and burned. Same concept.
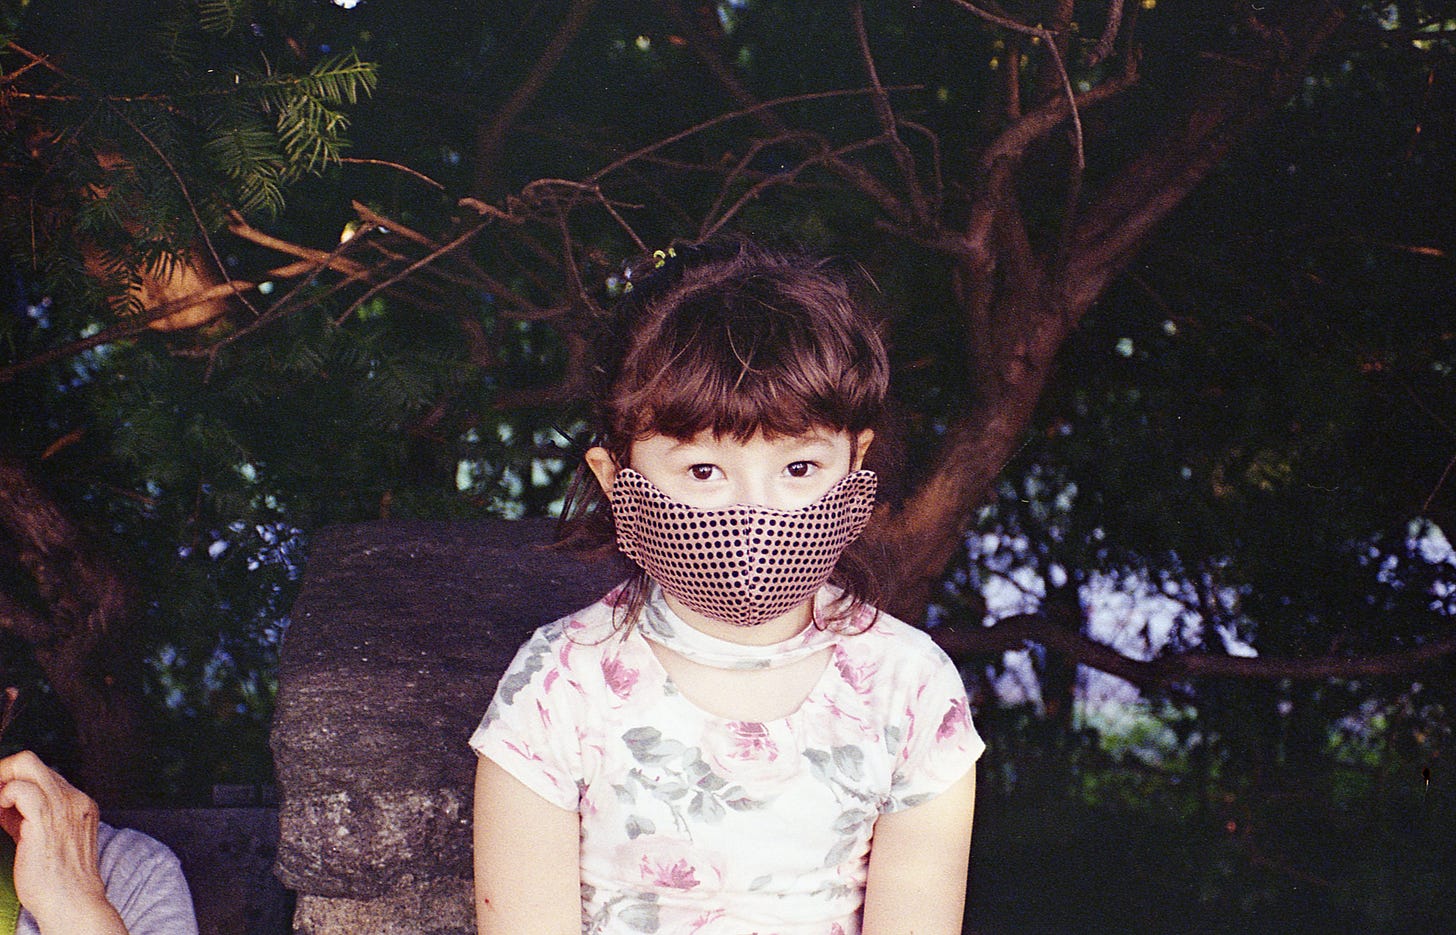
I used my weird Chinon Genesis II camera and (new to me) Kodak Pro Image 100. It’s a budget film with professional pretensions. I’ve read others says it’s grainier than you’d expect from a 100 iso film and I agree. I thought the skin tone reproduction was good. My verdict is I might use it again if I was doing a day of snapshots with friends but not if I was doing more formal portraits. And if I was doing street photography I’d use Kodak Ektar 100, instead.
Results of my first color processing? Not bad. I did end up washing it three times because I suspect cinestill’s instructions had me using too much photo flo at the end. I managed to keep my negatives fairly clean with the cotton gloves and my trusty blower.
Not my best roll of film but I’m eager to process more color on my own and reach those editing and retouching goals! I also won’t use the Chinon—the lens isn’t as sharp as I prefer. I’d rather use my Canon Elan 7, or Canon AE-1 or Canonet OR my beloved Mamiya RZ67!
All of the following are unedited scans using the Epson V550. I’m looking forward to digging into this article I found on editing color negatives.
And I found this article that troubleshoots what might have gone wrong with your color development.
Niece in some golden light in Fort Tryon Park. My favorite of the roll.
George Washington Bridge view from Fort Tryon Park
Niece and Mom
Fort Tryon Park Heather Garden
Home
Until next time…
Adalena
I love to receive comments and questions about photography and cameras!
My email: adalenakavanagh@gmail.com
Instagram: @mamiyaroid (instant/film) @5redpandas (personal)
Twitter: @adalenakavanagh
Also, if you’re thinking of buying Polaroid film for the first time, here is my referral code, which gets you 10% off, and I get some reward points.
Original photography prints: adalenakavanagh.bigcartel.com (I change out the shop every month of so. If you see something you like, let me know, I’m happy to make you a print.)
Disclosure: I am an affiliate of Bookshop.org and I will earn a commission if you click through and make a purchase.
-Adalena Kavanagh


